Introduction:
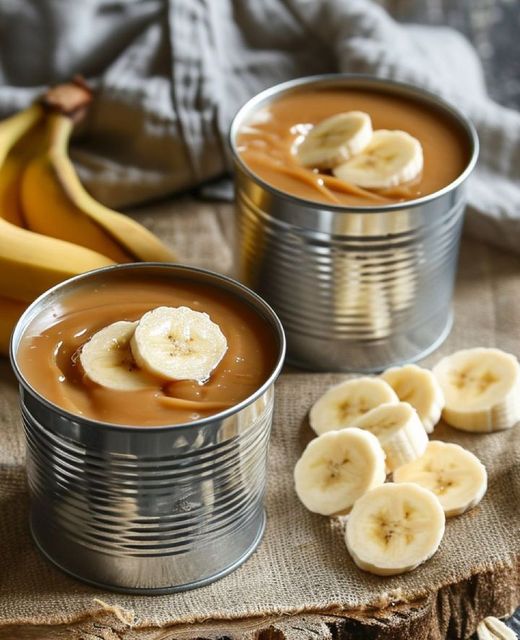
Ah, the beauty of simplicity in cooking—today I bring to you one of the most surprisingly luscious treats you can whip up with just a single ingredient. We’re going to make a Slow Cooker Sweetened Condensed Milk Caramel, which you might hear being called “Dulce de Leche” in Latin America or “Cajeta” in Mexico. It’s remarkable how something so rich and complex in flavor comes from such humble beginnings. Making caramel from sweetened condensed milk is not a new trick; folks have been enjoying this technique for years, but I find it to be a sort of culinary magic that’s always worth revisiting. One might want to make this as a delicious topping for desserts, a sweetener for their coffee, or even as a creative gift for a friend.
Serving Suggestions:
This Slow Cooker Sweetened Condensed Milk Caramel is nothing short of versatile. Drizzle it over a warm brownie, use it as a topping for your morning pancakes, layer it in your trifles, or swirl it into your cheesecakes. It’s the perfect companion for sliced apples, a decadent dip for pretzels, and a must-have addition to any ice cream sundae. Honestly, your imagination is the limit here!
Slow Cooker Sweetened Condensed Milk Caramel
Servings: Yields 1 to 1 1/2 cups of caramel
Ingredients:
- 1 (14-ounce) can of sweetened condensed milk
Directions:
1. Remove the label from the can of sweetened condensed milk, leaving the can unopened. Make sure there are no paper remnants clinging to the can; you don’t want anything floating around in your slow cooker.
2. Place the can on its side in the bottom of the slow cooker. You can fit a few cans in most slow cookers if you plan on making a larger batch.
3. Fill the slow cooker with water, ensuring that the cans are fully submerged by at least 2 inches of water to prevent the risk of can explosion due to pressure build-up.
4. Set your slow cooker to ‘Low’ and let it simmer gently for 8 hours. Pull out the can with tongs carefully – it will be incredibly hot.
5. Allow the can to cool completely at room temperature before opening it. This is when the magic happens: as it cools, the caramel will thicken to that perfect, spoonable consistency.
6. Once cooled, open the can to unveil a golden treasure: your homemade caramel, ready to luxuriate any dessert (or spoon) it encounters.
Variations & Tips:
- To make a lighter caramel, cook the can for a shorter time period, say 6 hours.
- Remember, never open the can while it’s still hot, as the contents can be quite dangerous and cause burns if they erupt out of the can.
- If you’d like to make a batch of caramel ahead of time, simply cook several cans at once and store them (unopened) in the pantry—they’ll keep just fine.
For those who want to spice things up, consider stirring in a pinch of sea salt after the caramel has cooled or add a half teaspoon of vanilla extract for a vanilla-caramel fusion.
If you’re a fan of adventure and have a pressure cooker, you can make this caramel in about 40 minutes using the pressure cooking setting. Always refer to your pressure cooker manual for safety instructions!


