Growing luffa, also known as loofah or vegetable sponge, is a unique and rewarding gardening project. Not only do you get to grow a useful plant, but you also get to turn it into natural, biodegradable sponges. Here’s a detailed, step-by-step guide on how to grow luffa and transform them into sponges.
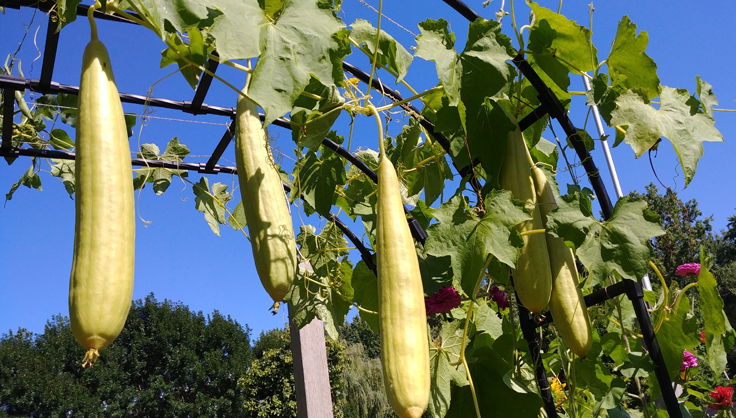
Luffa gourds are tropical vines known for their fibrous tissue, which, when dried, can be used as a natural scrubber. They are not only eco-friendly but also an excellent alternative to synthetic sponges.
Materials Needed
- Luffa seeds
- Well-draining soil
- Compost
- Trellis or support structure
- Watering can or system
- Pruning shears
- Large tub or container
- Bleach (optional)
- Gloves
Step-by-Step Guide
1. Seed Starting
– Start your luffa seeds indoors 6-8 weeks before the last frost date.
– Plant the seeds in well-draining soil and keep them in a warm, sunny spot.
– Keep the soil moist until germination, which usually takes 7-14 days.
2. Transplanting
– After the threat of frost has passed and the seedlings are strong enough, transplant them outdoors.
– Choose a sunny location with a trellis or support for the vines to climb.
– Space the plants about 24 inches apart.
3. Caring for Luffa Plants
– Water the luffa plants regularly. They thrive in moist but not waterlogged soil.
– Add compost or a balanced fertilizer to encourage growth.
– Train the vines onto the trellis to support their growth.
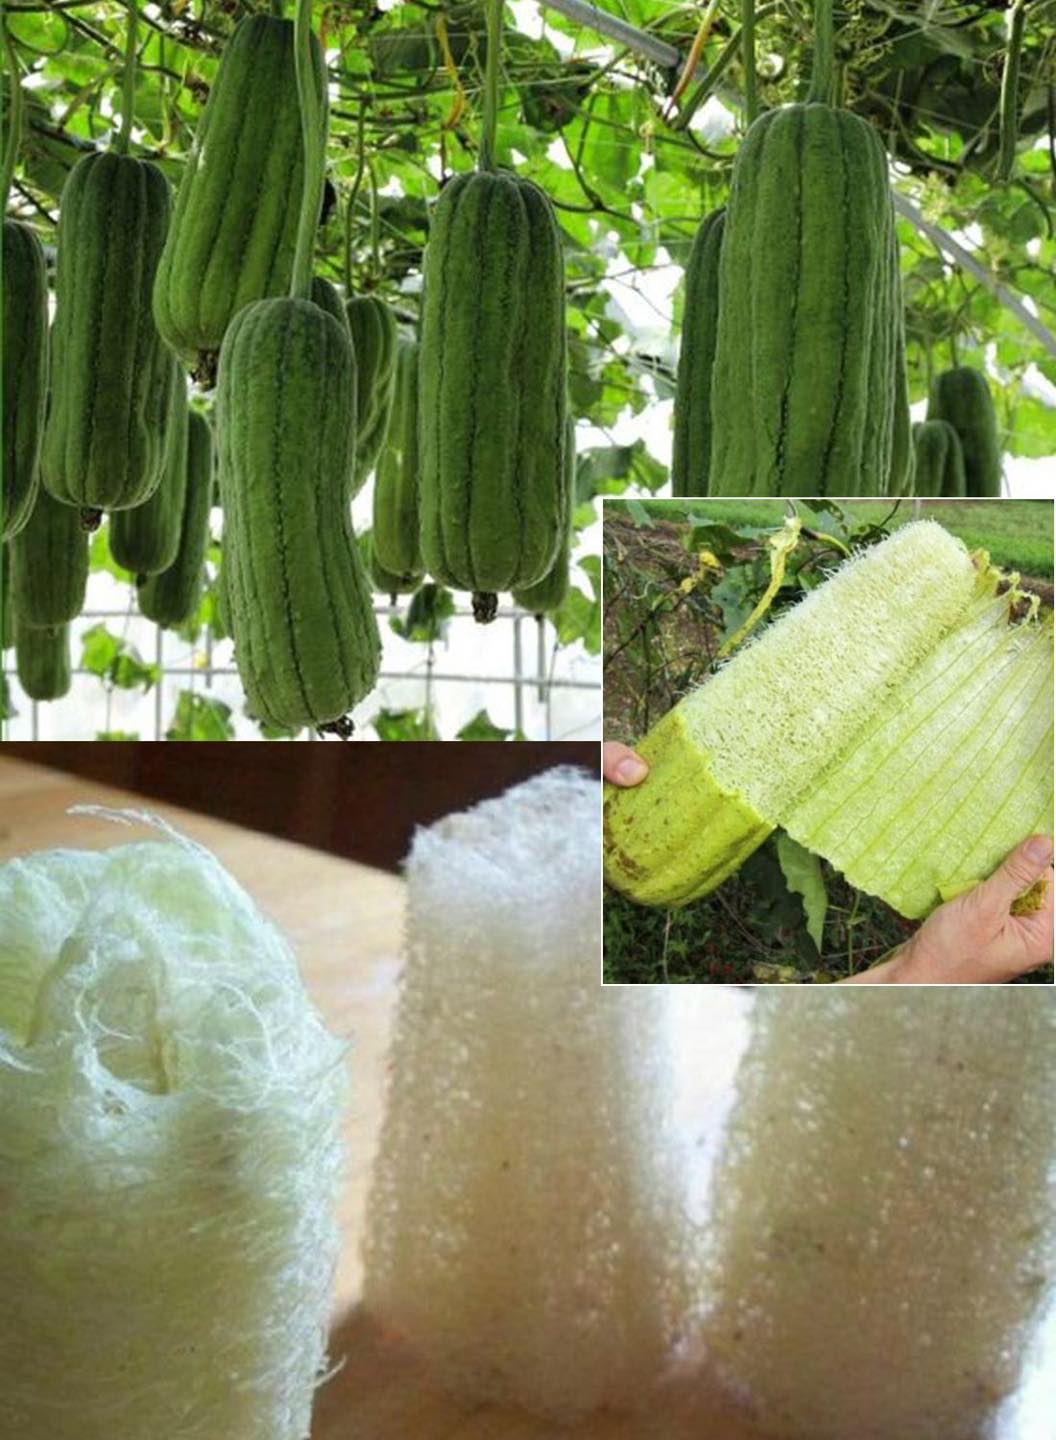
4. Harvesting
– Luffa gourds are ready to harvest when they feel lightweight and the skin begins to shrivel and turn brown, usually in late fall.
– Cut the gourds from the vine with pruning shears, leaving a few inches of stem.
5. Peeling and Cleaning

– Soak the harvested luffa in water for a few days to loosen the skin.
– Peel off the outer skin and remove any remaining seeds (which can be saved for next season).
– Thoroughly rinse the sponge to remove sap and debris.
6. Bleaching (Optional)
– To whiten your luffa sponge, soak it in a solution of bleach and water (1 part bleach to 10 parts water) for a few hours.
– Rinse the sponge thoroughly after bleaching.
7. Drying
– Squeeze out excess water and hang the luffa in a well-ventilated area to dry completely.
– Ensure it is completely dry to prevent mold or mildew.
8. Cutting and Shaping
– Once dry, cut the luffa into desired lengths using a sharp knife or scissors.
– Trim any rough edges to shape your sponge.
– Growing your own luffa and turning them into natural sponges is a fulfilling and environmentally-friendly project. These sponges are great for kitchen use, exfoliating in the bath, or even as eco-friendly gifts.
Tips

– Luffa plants need a long growing season; consider starting indoors if you live in a cooler climate.
– Regular pruning can encourage more fruit production.
– Use mature luffa gourds for sponges, as younger gourds are less fibrous.
By following these steps, you can successfully grow, harvest, and process luffa gourds into natural, sustainable sponges for your home. Enjoy this green journey from garden to kitchen or bath!


