Introduction:
Sweet potatoes are not only delicious and nutritious but also relatively easy to grow, even if you have limited garden space. One innovative method for cultivating sweet potatoes is using soil bags. This article will provide you with a step-by-step guide on how to grow sweet potatoes in soil bags, allowing you to enjoy a bountiful harvest right from your own home.
Materials You’ll Need:
- Sweet potato slips (young sprouts)
- Large soil bags or containers
- High-quality potting soil
- Garden trowel or small shovel
- Fertilizer with balanced nutrients
- Watering can or hose
- Mulch (straw or leaves)
- A sunny location
Step 1:
Acquiring Sweet Potato Slips Before you begin, you’ll need sweet potato slips. You can purchase them from a nursery or produce your own by sprouting sweet potatoes indoors. To create slips from a sweet potato, place it in a jar of water with toothpicks holding it halfway submerged. Change the water regularly, and within a few weeks, you should have sprouts suitable for planting.
Step 2:
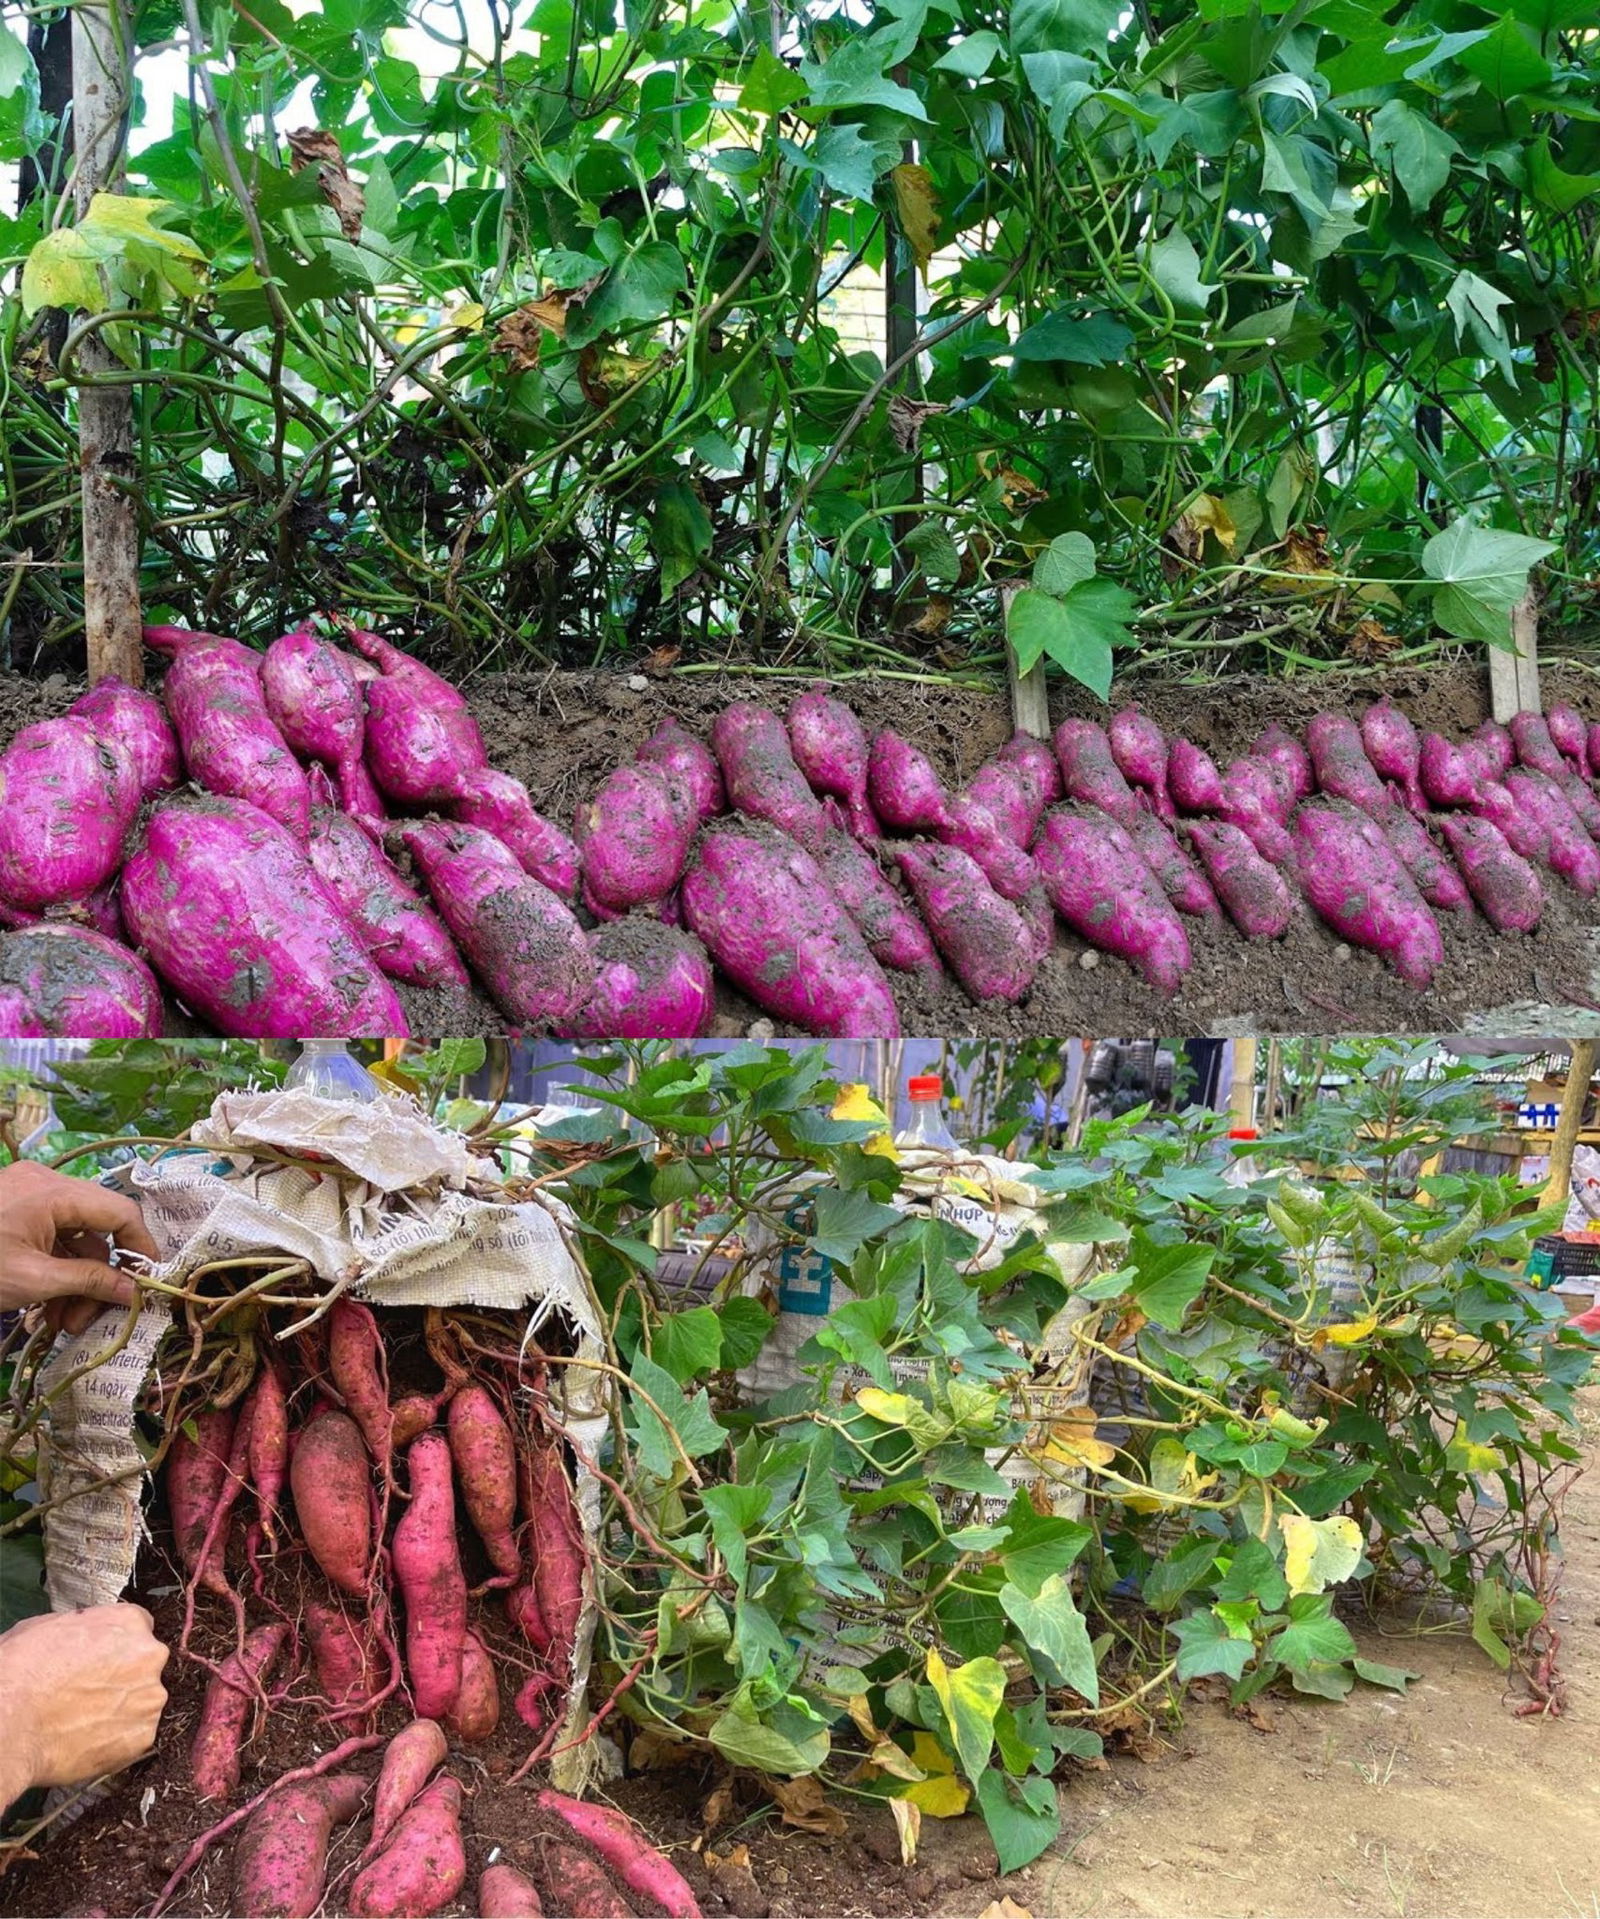
Choosing the Right Soil Bags or Containers Opt for large soil bags or containers with a minimum capacity of 20 gallons. Ensure that they have drainage holes at the bottom to prevent waterlogged soil, which can harm your sweet potatoes.
Step 3:
Preparing the Soil Fill the soil bags or containers with high-quality potting soil, leaving about 3 inches of space from the top. Sweet potatoes prefer loose, well-draining soil, so avoid compacting it too tightly.
Step 4:
Planting Sweet Potato Slips Insert the sweet potato slips into the soil bags, burying them about 2-3 inches deep. Space each slip 12-18 inches apart to allow for proper growth. Make sure the sprouts are facing upward.
Step 5:
Fertilizing Apply a balanced fertilizer according to the package instructions. Generally, a slow-release, granular fertilizer with equal parts nitrogen, phosphorus, and potassium (NPK) works well for sweet potatoes.
Step 6:
Watering Keep the soil consistently moist but not waterlogged. Sweet potatoes thrive in well-drained soil, so avoid overwatering, which can lead to root rot.
Step 7:

Sunlight and Temperature Place your soil bags in a sunny location where the sweet potatoes can receive at least 6-8 hours of sunlight daily. Sweet potatoes prefer warm temperatures, so aim for an average temperature of 70-85°F (21-29°C).
Step 8:
Mulching Apply a layer of mulch (such as straw or leaves) around the sweet potato plants to help retain soil moisture, suppress weeds, and maintain a consistent soil temperature.
Step 9:
Care and Maintenance Regularly check for pests, weeds, and diseases, and take appropriate measures to address any issues that arise. Continue to water and fertilize as needed throughout the growing season.
Step 10:
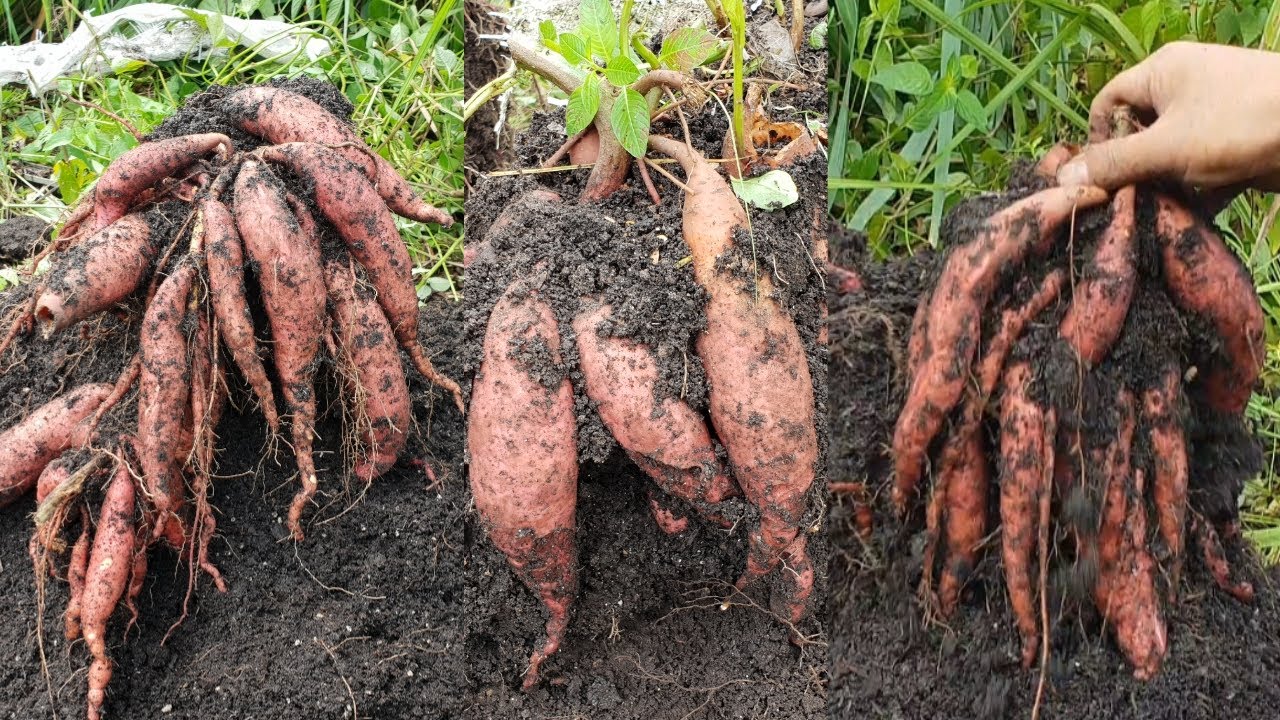
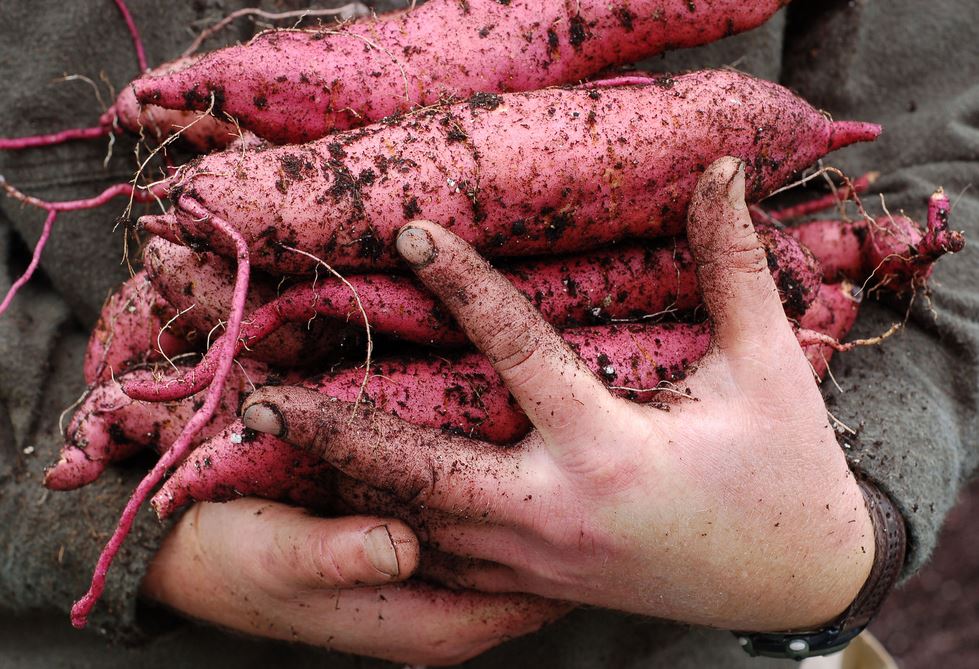
Harvesting Sweet potatoes typically take about 3-4 months to mature. Once the foliage begins to turn yellow and die back, it’s time to harvest. Carefully dig up the sweet potatoes using a garden fork or trowel.
Conclusion:
Growing sweet potatoes in soil bags is a convenient and space-saving way to enjoy this delicious crop. With the right materials and proper care, you can successfully cultivate sweet potatoes right in your own backyard or even on a balcony or patio. Follow these steps, and you’ll be rewarded with a bountiful harvest of homegrown sweet potatoes to enjoy with your family and friends. Happy gardening!


